Table of Contents
ToggleIntroduction
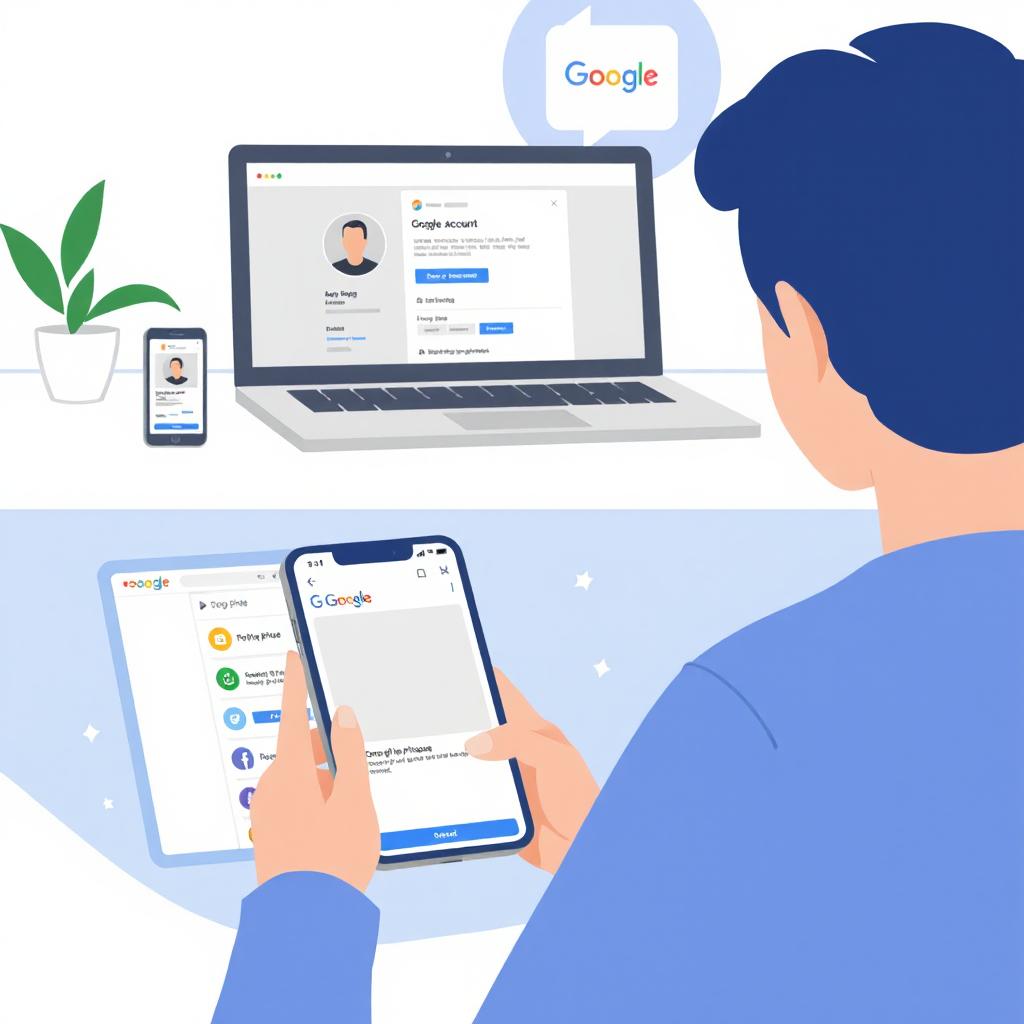
- Your Google profile picture represents your identity across various Google services, including Gmail, YouTube, Google Drive, and Google Meet. Changing your profile picture is a simple process that allows you to personalize your account. This guide provides step-by-step instructions on how to update your Google profile picture on different devices.
Why Updating Your Google Profile Picture Matters
Updating your Google profile picture has several benefits:
Professionalism: A clear and professional image can enhance your online presence, especially for work-related emails and meetings.
Personalization: Allows you to customize your profile, making it easily recognizable to contacts.
Branding: If you run a business or personal brand, using a logo or professional headshot ensures consistency across platforms.
Security: Ensures that your account is easily identifiable, reducing the risk of impersonation.
Changing Your Google Profile Picture on a Desktop
Follow these steps to update your profile picture using a computer:
Step 1: Sign in to Your Google Account
Open your web browser and go to Google Account.
Sign in with your Gmail credentials if you are not already logged in.
Step 2: Access the Profile Picture Settings
Click on your current profile picture or initials in the top-right corner of the page.
A dropdown menu will appear. Click on “Manage your Google Account.”
On the left-hand menu, select “Personal Info.”
Scroll down to the “Basic Info” section and click on your profile picture.
Step 3: Upload a New Picture
Click on “Change.”
You will be given the option to upload a new photo from your computer or select an image from your Google Photos.
Choose your preferred image and adjust the cropping if necessary.
Click “Save” to apply the changes.
Supported Image Formats and Requirements
| Format | Supported | Minimum Size |
|---|---|---|
| JPG | Yes | 250×250 px |
| PNG | Yes | 250×250 px |
| GIF | No | – |
| BMP | No | – |
Changing Your Google Profile Picture on a Mobile Device
Step 1: Open Google Settings
On your smartphone, open the Google app or go to Settings > Google.
Tap on “Manage your Google Account.”
Step 2: Navigate to Personal Info
Scroll to the “Personal Info” tab.
Tap on your current profile picture.
Step 3: Select or Upload a New Picture
Tap on “Change” or “Set Profile Picture.”
Choose an image from your phone’s gallery or take a new photo using your camera.
Adjust the image as needed and confirm the selection.
Changing Your Google Profile Picture in Gmail
Step 1: Open Gmail and Sign In
Visit Gmail and sign in.
Step 2: Access the Profile Settings
Click on your profile picture in the top-right corner.
Select “Manage your Google Account.”
Step 3: Upload a New Image
Navigate to the “Personal Info” tab.
Click on your profile picture and choose to upload a new one.
Adjust the image as needed and save the changes.
Troubleshooting Common Issues
If you encounter issues while changing your Google profile picture, consider these solutions:
| Issue | Possible Solution |
| Profile picture not updating | Wait a few hours as changes may take time to reflect across all services. |
| Image upload error | Ensure the file format is supported (JPG, PNG) and the size meets the minimum requirements. |
| Unable to change picture | Check if your account is managed by an organization; some admins restrict changes. |
| Picture appears blurry | Use a higher-resolution image for better quality. |
Important Notes
Visibility: Your new profile picture will be updated across all Google services, but it may take a few minutes to reflect.
Privacy Settings: You can choose whether your profile picture is visible to everyone or only to people you interact with.
Sync Across Devices: Changes will automatically sync across all devices linked to your Google account.
Conclusion
- Updating your Google profile picture is an easy way to personalize your account and maintain a professional or customized online presence. By following the steps outlined above, you can quickly change your profile picture from any device. If you encounter any issues, visit Google’s support page for further assistance.